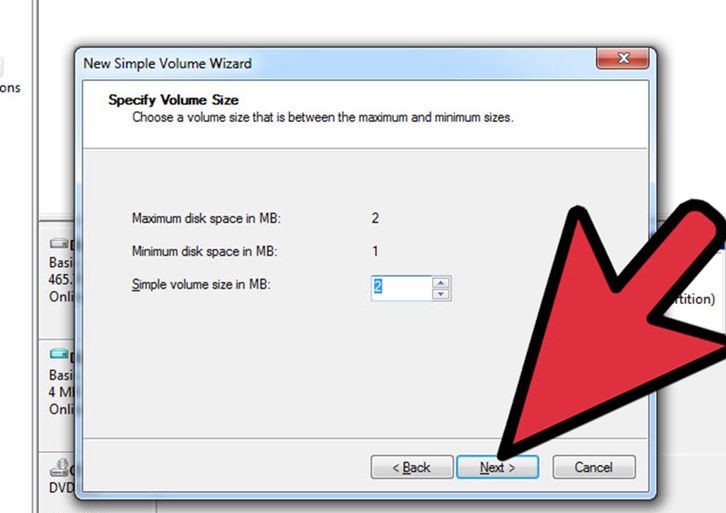
This is a simple guide to create VHD in Windows. VHD (Virtual Hard Disk) is a file format which represents a virtual hard disk drive (HDD). VHD creates extra storage space for encrypting data or loading Operating System. It is the easiest way to hold backup, install an extra operating system for testing without partitioning your hard disk or perform similar functionalities.
Here is how to create VHD:
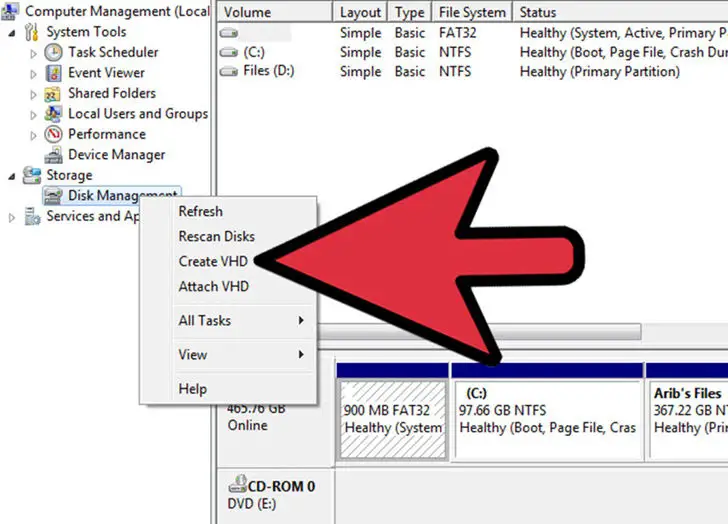
1. Right click on My computer icon -> Manage -> Disk Management -> Create VHD
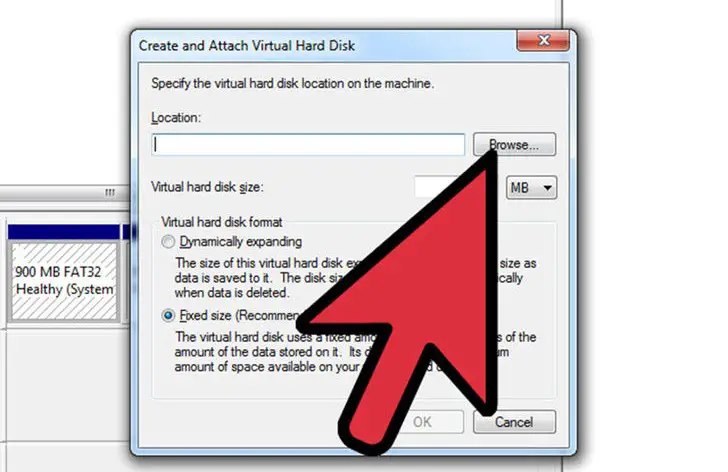
2. Click ‘Browse’ to select a folder in which you want to allocate space to VHD. Now select the memory to be assigned to VHD folder.
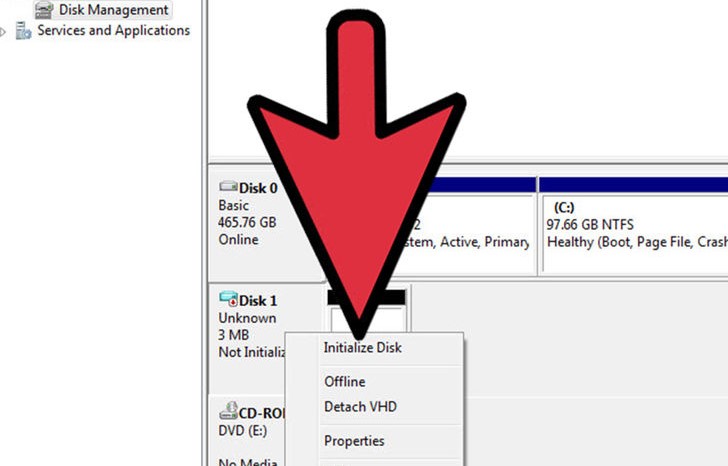
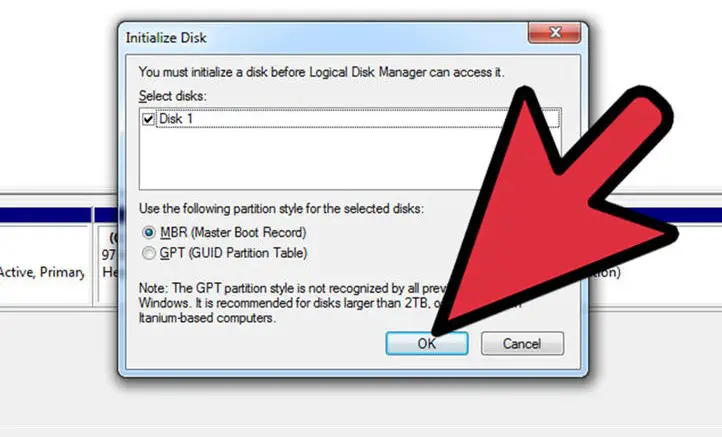
3. Initialize the VHD. Follow the steps below for initializing it:
Right click on VHD and select “Initialize Disk”
When a window pops up, choose “MBR” (Master Boot Record) from it
Click OK for initializing the VHD.
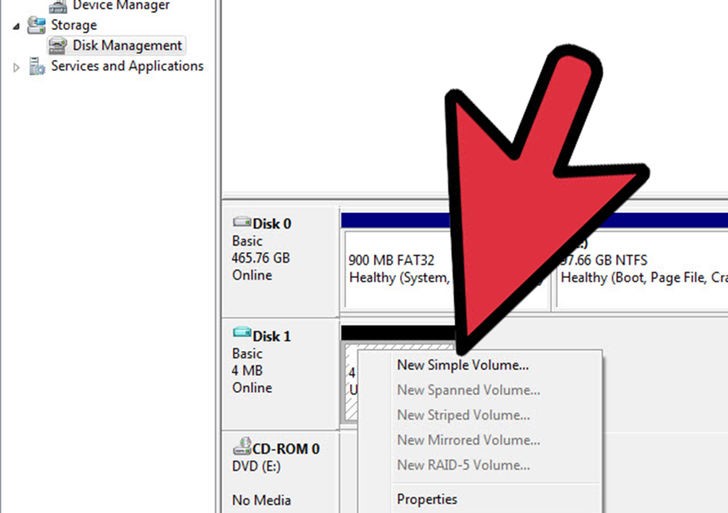
4. Create the volume so that the full functionality of VHD can be enabled. In order to support system files, volume needs to be created and for this purpose, follow the steps below:
Right click on VHD -> Simple Volume
A wizard appears after this.
Follow the instructions that keep coming in the wizard.
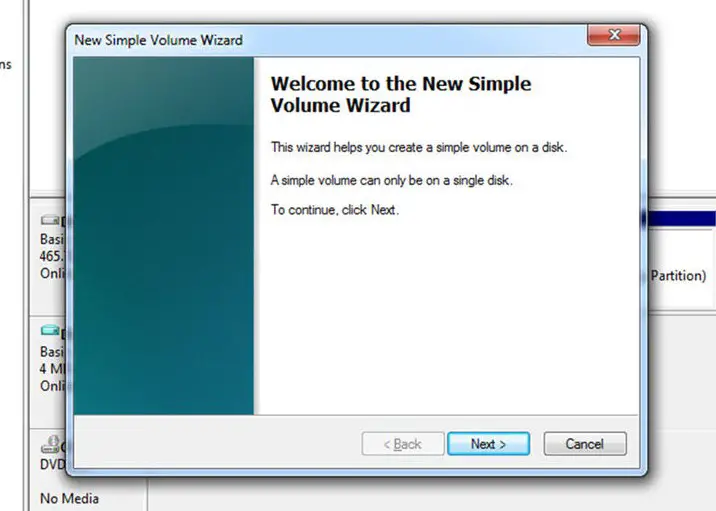
When the entire process gets completed, a new VHD is created which can be used for data storage.
